

One day Jon randomly decided that the tiny closet he was using just wasn't cutting it. So he cleaned out the closet in our master bedroom and found homes for the miscellaneous items hoarded inside. Once it was empty we remembered why we hadn't used it. First off it was filthy, but that was easy to fix. Secondly, unlike the rest of the closets, it was an odd figuration. It was one bar... one really high bar. That's it. Not the best use of space.

So, Jon took down that bar and removed the boards that were supporting it. However when he removed those boards he also created a nice sized hole in the back wall. It turned out that the boards were not attached to the studs properly, and instead were just nailed into the lathes of the horsehair plaster. So when Jon pried them off, out came a couple of strips of lathes- plaster and all. Jon cut a piece of drywall to fit the hole, screwed it into the studs, and used some patching compound to smooth out the wall.

The lathes and crumbled plaster.

Jon's handy work- new drywall patch.

Lots of patching then sanding the sucker smooth.
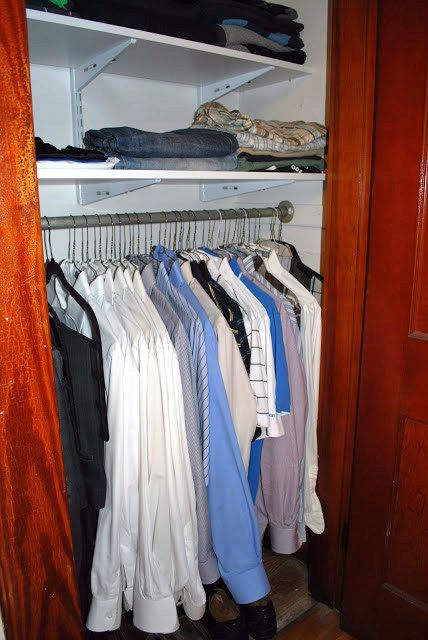
Once the wall was dry, we painted the inside of the closet with some left over paint. That cleaned the closet up nicely. We wanted to make this closet more space efficient, so decided to install the bar lower, that way Jon was able to install shelves above it to hold some folded items. The shelves we got from home depot; they are mix and match so you can buy just the pieces you need. They are really easy to install: level the top horizontal support, line up the vertical tracks with the studs, screw them securely to the wall, and you are pretty much done. The shelf supports just snap into the vertical tracks so you can move them or add a shelf later. Total cost of the project was around $100, with most of that spent on the shelving system. Definitely worth the price.


No comments:
Post a Comment