We recently completed our kitchen island project and couldn't be happier! When we bought the house we knew the kitchen would be ideal for an island because it is long and fairly narrow, making a small table look lost and a large table overbearing. Jon was lucky enough to salvage a custom made dry sink from an empty office in his building. When he brought it home, it looked like this:
Which meant :
1. Removing the ugly old top and replacing it with the one we inherited from Jon's parents.
1. Removing the ugly old top and replacing it with the one we inherited from Jon's parents.
2. Covering the unfinished side of the island to make a uniform look from all sides.
3. Opening up one half so we could have a shelf for our microwave and another for our cookbooks.
4. Adding electricity for the microwave and any table top devices.
5. Removing the old doors and hardware and replacing them with ones that matched the kitchen.
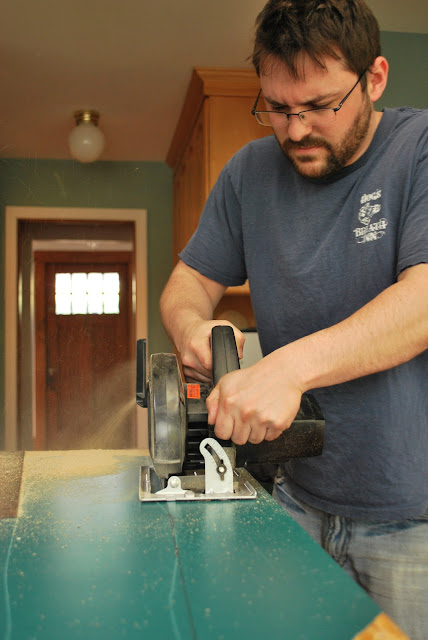
So first we ripped off the teal top and then attached the one we got from Jon's parents. That alone made a huge difference.
We needed to cover the outside of the island since one side was unfinished. Bead-board was not my first choice, but it was easy to find, fairly inexpensive, and looked great. Once Jon put the sides and corner trim up, I painted the whole thing with Martha Stewart's Tailor's Chalk to match the trim in our kitchen.
After finishing the sides we found brushed nickel brackets to both support the overhang and add a little personal touch.
Finally it was time to add the electricity. We built a shelf and put our microwave in the island, getting it out of sight and saving some (valuable) counter space. Jon also installed an outlet on the outside of the island so I could plug in my food processor / hand mixer / blender / anything else I need.
And voila! We have our kitchen island, complete with cook book shelf and hidden microwave. We couldn't be happier with it.


No comments:
Post a Comment